
.png)
Fabric Painting for Beginners: 5 Easy Techniques to Get Started
- Madhula

- Mar 29
- 3 min read
Fabric painting is one of the most enjoyable ways to personalize everyday items like T-shirts, tote bags, cushion covers, or table runners. Whether you are a beginner or someone looking to explore creative DIY projects, learning a few simple techniques can help you create beautiful fabric designs easily.
In this guide, we’ll explore five essential fabric painting techniques that are beginner-friendly and practical. These techniques will help you understand how fabric paint behaves and how to achieve different artistic effects on cloth.
Let’s get started! 🎨
Materials Required
Before beginning, gather the following materials:
Fabric paints (various colors)
Paint brushes (round brush, liner brush, etc.)
A piece of cloth or fabric
Palette for mixing colors
Glass marking pencil or regular pencil
Toothpick or dotting tool
Masking tape
Sponge (optional)
Stencils or stamps (optional)
Tip: You can practice these techniques on a scrap piece of cloth from an old dress or fabric leftover.
 |  |
Technique 1: Flat Fill (Basic Solid Painting)
The flat fill technique is the most basic method in fabric painting. It involves filling an area with a single color evenly.
How to Do It
Dip a small amount of paint onto your brush.
Start filling the area in one direction.
Avoid moving the brush in multiple directions.
Apply paint evenly for a smooth finish.
Important Tips
Do not overload your brush with paint.
Fabric absorbs more paint than canvas.
Using too much paint may create uneven patches.
Where to Use This Technique
Background areas
Filling large shapes
Silhouettes
Writing text or lettering
Landscape designs
 |  |
Technique 2: Outline and Fill
This technique is commonly used in traditional and folk art designs. The idea is simple: first draw the outline, then fill it with paint.
Steps
Sketch your design lightly using a pencil or glass marking pencil.
Use a liner brush to trace the outline with paint.
Carefully fill the inside of the design.
This makes painting easier because the outline acts as a boundary.
Where This Technique Works Best
Saree painting
Table runners
Traditional patterns
Decorative motifs
 |  |
Technique 3: Dot Painting
Dot painting is one of the simplest and most decorative techniques in fabric painting. It works beautifully for mandala designs, tribal patterns, and borders.
How to Create Dots
You can use:
The back of a brush
A toothpick
A dotting tool
Steps
Dip the tool into the paint.
Press it gently onto the fabric.
Lift it straight up to create a dot.
For consistent dots, dip the tool in paint each time.
Changing Dot Size
Larger tool = bigger dots
Smaller tool = smaller dots
Brush tip can be used for tiny dots
Tips
Use small amounts of paint.
Press gently to keep the dot shape.
This technique is slow but very relaxing and mindful.
 |  |
Technique 4: Wet-on-Wet Blending
If you want smooth color transitions, wet-on-wet blending is the technique to use.
This method blends two colors together while they are still wet.
Steps
Apply one color on the fabric.
Place the second color next to it.
Before they dry, blend them together using a slightly damp brush.
Important Tips
Wash your brush before switching colors.
The brush should be slightly damp, not too wet.
Use a soft brush for better blending.
Where to Use This Technique
Gradients
Background effects
Sunset or landscape designs
Abstract patterns
 |  |
Technique 5: Stencil and Stamping
If you’re not comfortable with freehand drawing, stencils and stamps make fabric painting much easier.
Using a Stencil
Place the stencil on the fabric.
Secure it with masking tape.
Apply paint using a brush or sponge.
Paint lightly to prevent bleeding.
Let it dry slightly before removing the stencil.
You can also combine techniques like:
Flat fill
Blending
Dot painting
 |  |
Using Stamps (Block Printing Style)
Stamps are perfect for creating repeated patterns.
Steps
Apply paint onto the stamp.
Remove excess paint by stamping on scrap cloth.
Press the stamp onto the fabric.
Lift it straight up.
This method is great for:
Repeated patterns
Borders
Decorative motifs

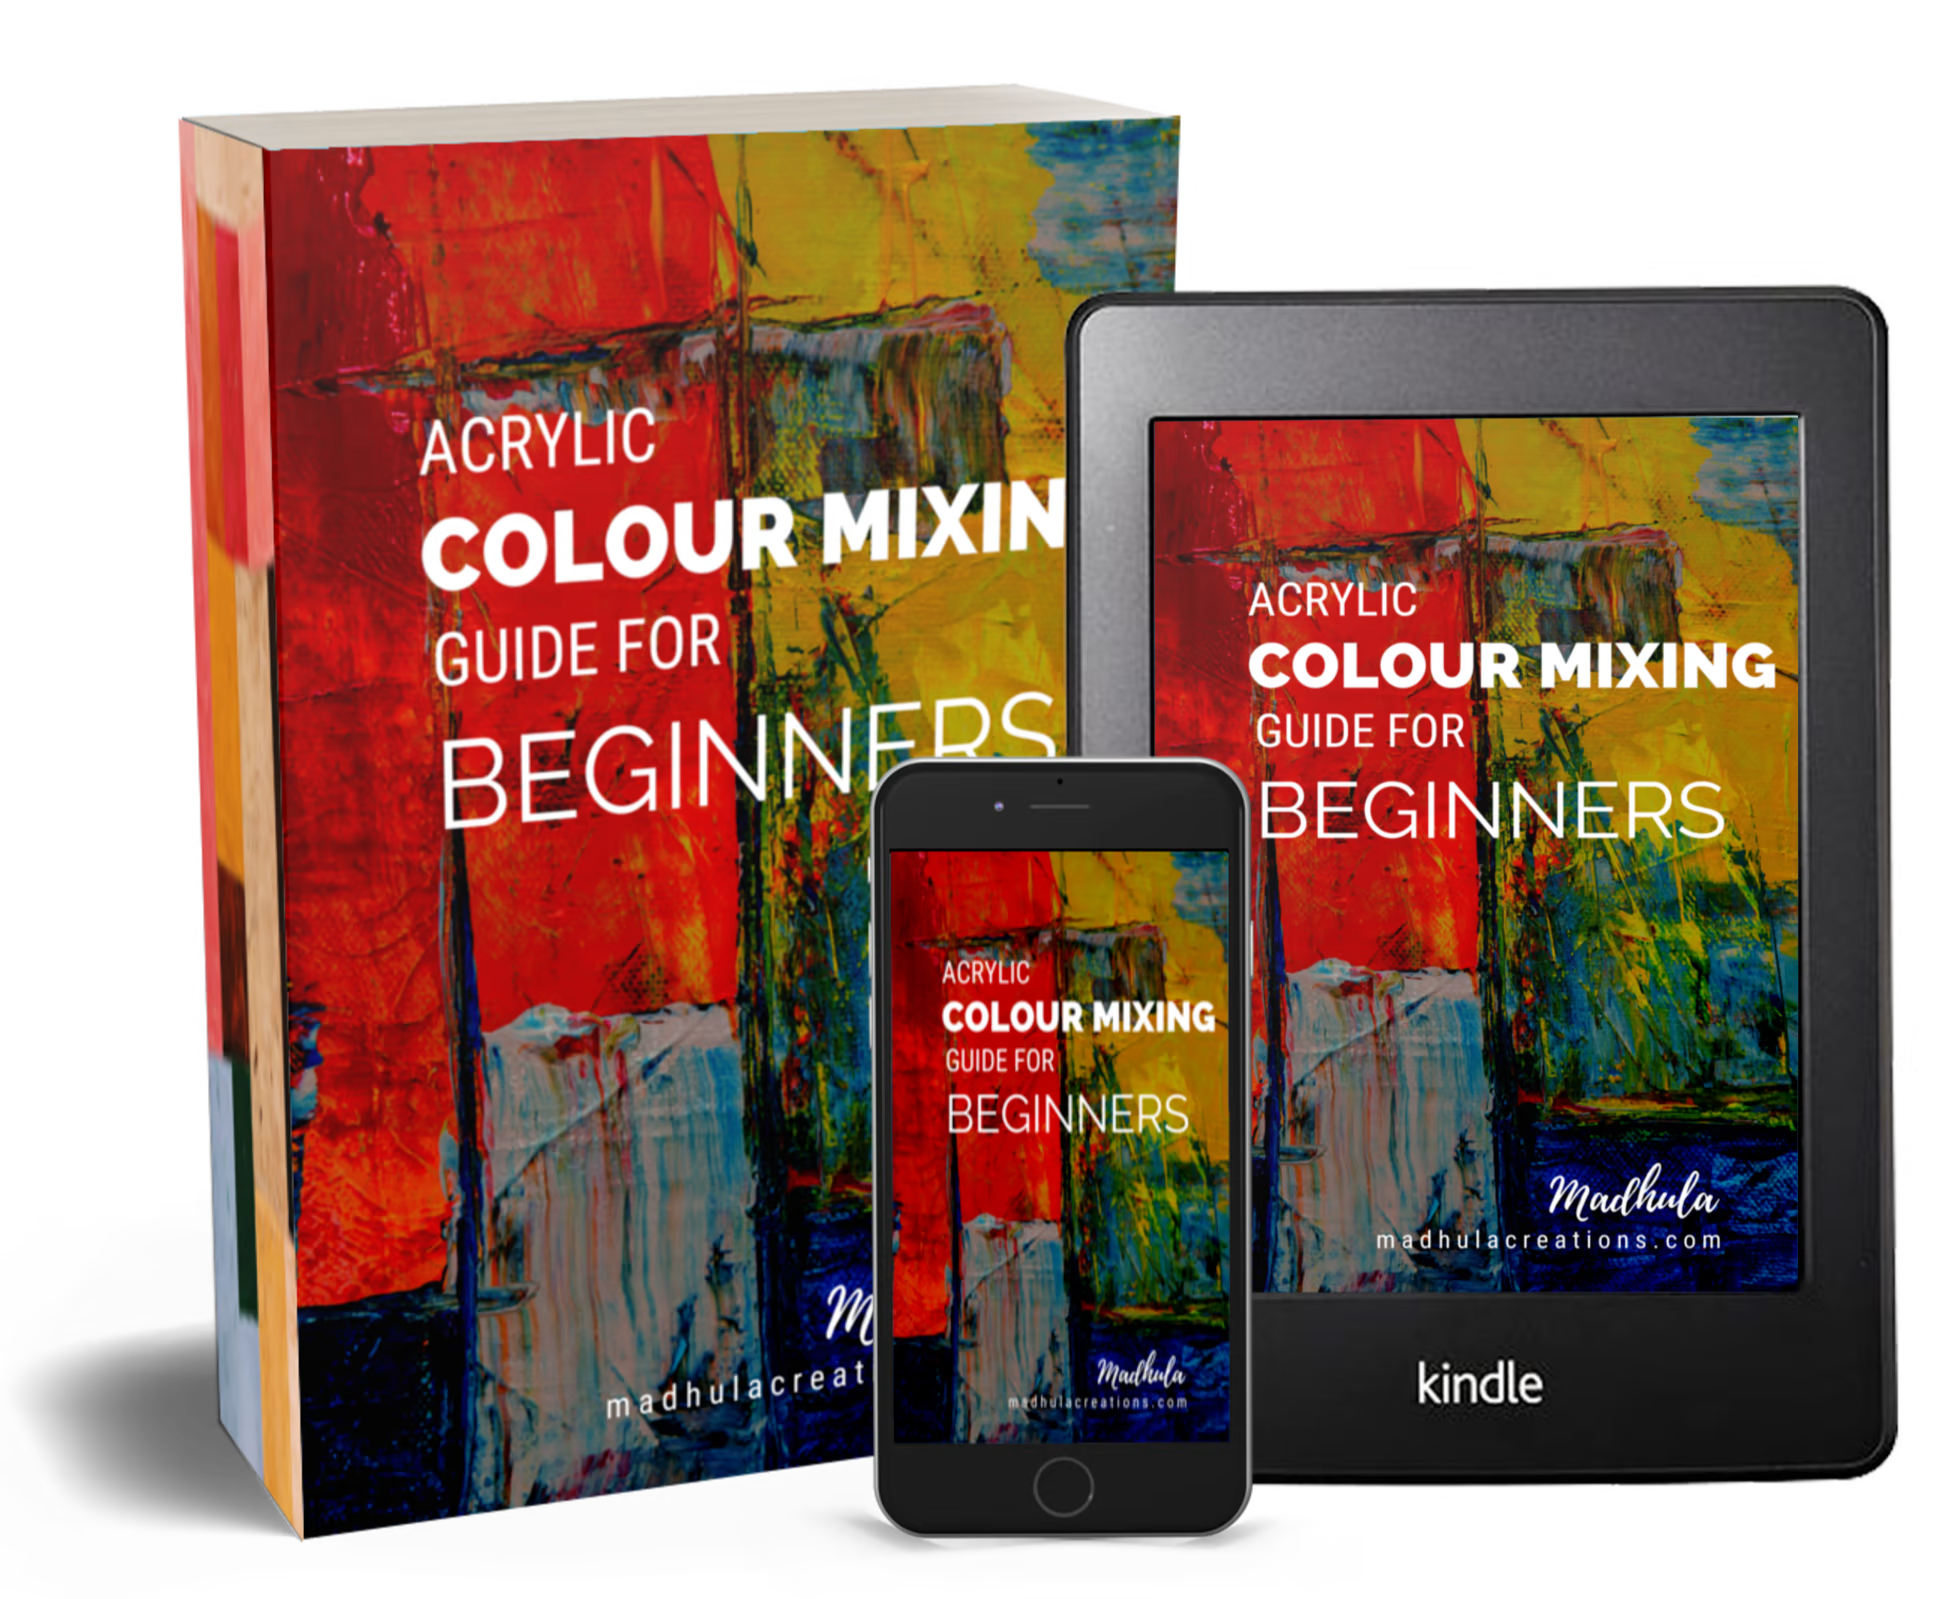
Want to take your colour mixing skills even further? I’ve put together a free Acrylic Colour Mixing Guide packed with easy recipes and tips to help you get started. Downoad it now and start mixing colours with confidence!
Comments